Introduction
Laying new sod is one of the quickest ways to transform a dull yard into a lush, green landscape. However, the success of your sod installation in Stanislaus County depends largely on how well you prepare the soil. Without proper soil preparation, even the best sod may struggle to root, leading to patchy grass and wasted investment. In this blog, we’ll walk you through a step-by-step process of preparing soil in Stanislaus County before laying sod, highlight the tools and techniques needed, and share expert tips for long-term lawn health.
Why Soil Preparation Matters for Sod
Before diving into the process, it’s important to understand why soil preparation is crucial:
- Encourages Strong Root Growth – Loose, nutrient-rich soil allows sod roots to penetrate deeply.
- Prevents Drainage Issues – Proper grading avoids puddles and root rot.
- Supports Nutrient Absorption – Amending soil with compost and fertilizer ensures grass gets what it needs.
- Extends Sod Lifespan – A well-prepared foundation helps your lawn thrive for years, even in Stanislaus County’s climate.
Step 1: Test Your Soil
The first step is conducting a soil test. This will tell you the pH level and nutrient composition.
- Why it’s important in Stanislaus County: Many areas here have clay-heavy soil, which may require amendments to improve drainage and nutrient balance.
- How to test: Use a DIY soil test kit or send samples to the University of California Cooperative Extension for detailed analysis.
Pro Tip: Ideal pH for most sod grasses is between 6.0 and 7.5.
Step 2: Clear the Area
Before laying sod, remove any obstacles that could prevent sod from rooting properly.
- Pull weeds and apply a safe herbicide if needed.
- Remove rocks, old roots, and debris.
- Get rid of old turf if you’re replacing an existing lawn.
Step 3: Till the Soil
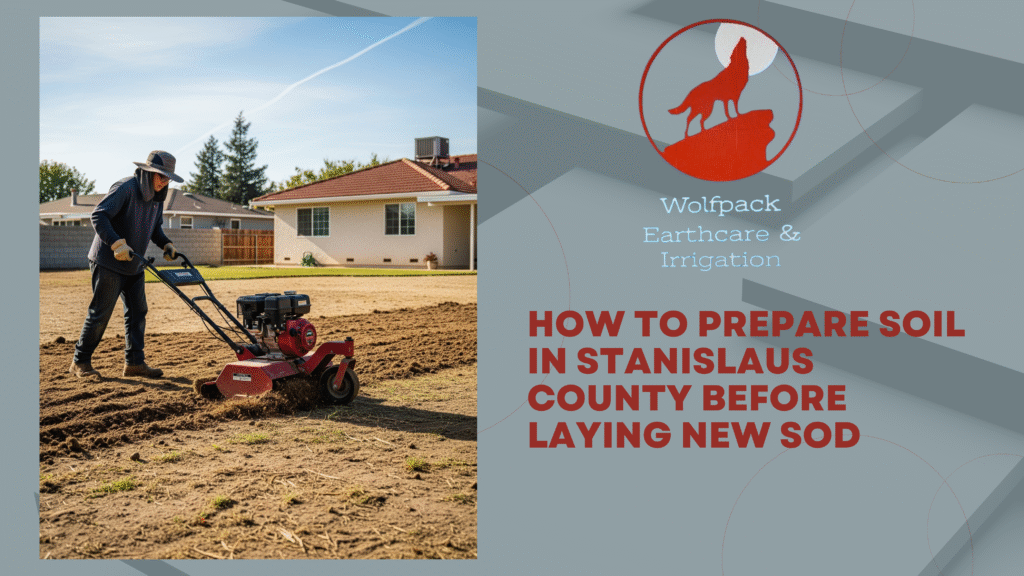
Tilling is essential for breaking up compacted soil. In Stanislaus County, clay soils often require extra attention.
- Till the soil to a depth of 4–6 inches.
- Mix in organic matter like compost or peat moss to improve soil structure.
- Break up large clumps for a smooth base.
Pro Tip: Avoid tilling when the soil is too wet; it can create compacted clods that make sod rooting harder.
Step 4: Add Soil Amendments
Based on your soil test results, add amendments to ensure the soil is nutrient-rich.
- For Clay Soil (common in Stanislaus County): Add sand, compost, or gypsum to improve drainage.
- For Sandy Soil: Incorporate organic compost to retain moisture.
- Fertilizer: Apply a starter fertilizer high in phosphorus to encourage root growth.
Step 5: Level and Grade the Soil
Proper grading is key for both drainage and sod placement.
- Slope the soil slightly away from buildings to avoid water pooling.
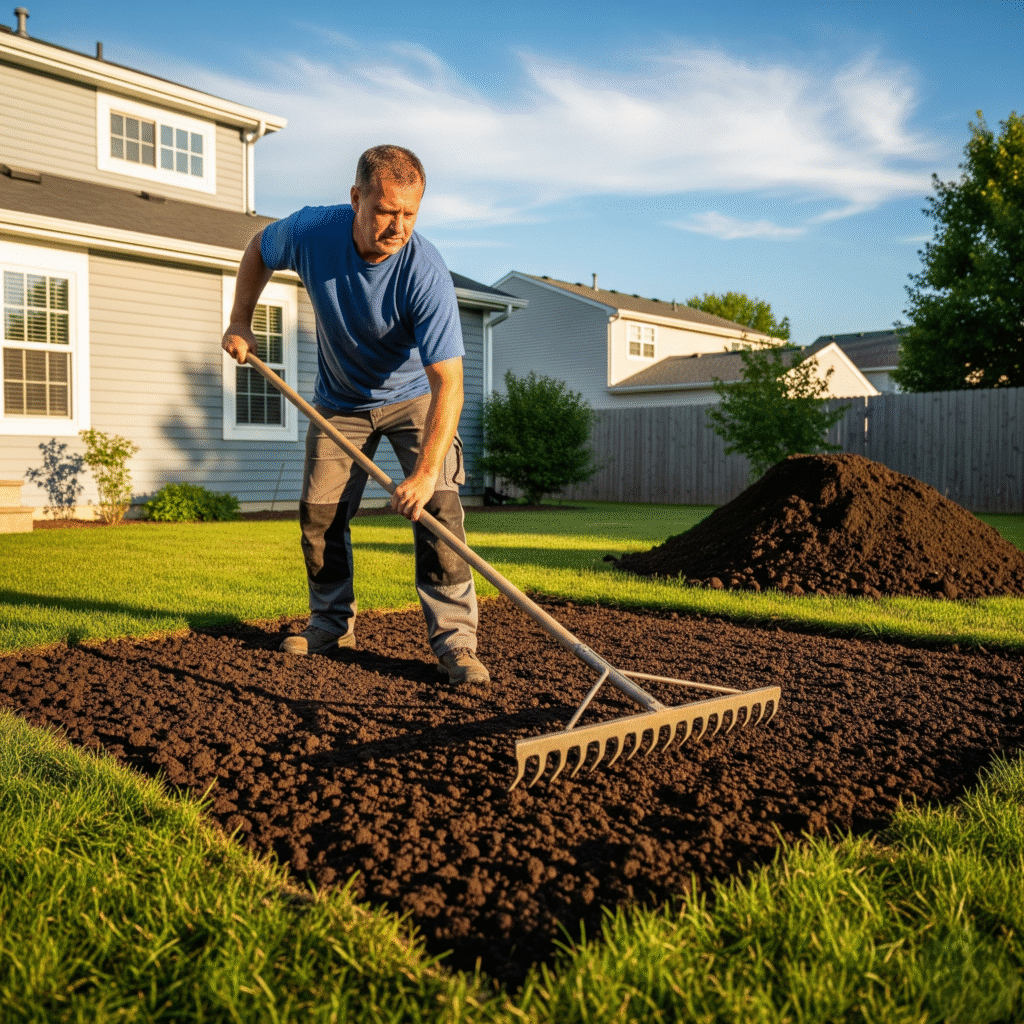
- Use a landscaping rake to level the soil.
- Fill low spots to prevent uneven sod growth.

Step 6: Water the Soil Before Laying Sod
Moisten the soil lightly before laying down the sod.
- Don’t overwater; soil should be damp, not muddy.
- This helps sod roots connect with the soil immediately.
Step 7: Lay Sod Quickly After Soil Prep
Once the soil is ready, sod should be installed as soon as possible.
- Start laying sod along a straight edge, like a driveway or sidewalk.
- Stagger seams in a brick-like pattern for stability.
- Press sod edges tightly together to avoid gaps.
Step 8: Roll the Sod
After sod installation, use a sod roller to ensure good contact between the sod and soil.
- This eliminates air pockets.
- Helps roots establish faster.
Step 9: Water Immediately and Maintain
Watering is critical, especially in Stanislaus County’s warm seasons.
- Water sod within 30 minutes of installation.
- Keep the soil consistently moist for the first 2 weeks.
- Gradually reduce watering once roots establish.
Common Mistakes to Avoid
Skipping Soil Testing – Can lead to poor sod survival.
- Not Removing Old Grass – New sod won’t root properly over old turf.
- Uneven Grading – Causes water pooling and root rot.
- Overwatering Before Installation Makes the soil muddy and hard to work with.
Long-Term Benefits of Proper Soil Prep
When you prepare soil correctly, you’ll notice:
- A stronger, healthier lawn.
- Reduced water usage over time.
- Lower maintenance and fewer repairs.
- A beautiful, lasting landscape in Stanislaus County.
Conclusion
Preparing soil before laying new sod in Stanislaus County is the most critical step for creating a lush, resilient lawn. From soil testing to grading and fertilizing, each stage plays a vital role in ensuring your sod takes root and thrives. With the right preparation, your investment in sod will pay off with a healthy lawn for years to come.
Call to Action
Ready to transform your lawn with expert sod installation in Stanislaus County? Contact our team today to schedule a consultation and get professional results that last.


